
How to Draw A Candle. A candle has many uses, both practical and symbolic. In its simplest form, a candle brings light into a dark room once lit easily.
Also, check our coloring pages fish.
It can also represent hope and encouragement at a difficult time or the light at the end of a tunnel.
No matter what a candle may mean to you, learning how to draw a candle to represent any meaning you want can be very illuminating.
This guide in front of you will show you how to do it!
We hope you enjoy this step-by-step guide to drawing a candle in 6 steps.
How to Draw A Candle
Step 1
This first step of our guide to drawing a candle starts with the candle flame. This flame is drawn into another with a pointed shape.
To draw it, you can start with the outer shape with a round base that tapers toward the top.
Finally, it culminates in a sharp point that curves to the right. Finally, add another similar shape inside the outline.
Step 2
Now that you’ve drawn your candle flame, you can start drawing the candle itself. To draw the wick of your candle design, add a thin line running down from the center of the flame.
Then you can use some curved lines for the top of the candle. One of these lines will wrap around a little to indicate that the wax is dripping.
It may sound unclear, but it becomes clear when referring to the reference image!
Step 3
In this step of our tutorial on drawing a candle, we will continue to draw the candle with dripping wax.
This time you draw the right side of the candle, which will also drip. This looks very similar to the left side, except the drop is longer and extends further.
That’s all for this step, and now you’re ready for the next step!
Step 4
Your candle design is slowly taking shape! We will maintain this momentum with this next step.
Here you can add another extension on the candle’s left side, adding another drop. Now that we’ve drawn that, we only have a few details left before we start the colors for your candle!
Step 5
In this step of our how to draw a candle guide, you’ll complete the final details before adding some color in the final step.
For this, the main aspect will be the candlestick base. You can also add curved lines to make the candle drip more while you’re at it.
That’s enough for the details in this guide, but you don’t have to stop there! You could add some details to complete this picture.
You could draw a pedestal for the candle to stand on. This can be a plate or an elaborate candlestick.
You can also draw a background for the picture or add additional elements and details. Candles can also come in various shapes, sizes, and designs, so you have a few options.
Step 6
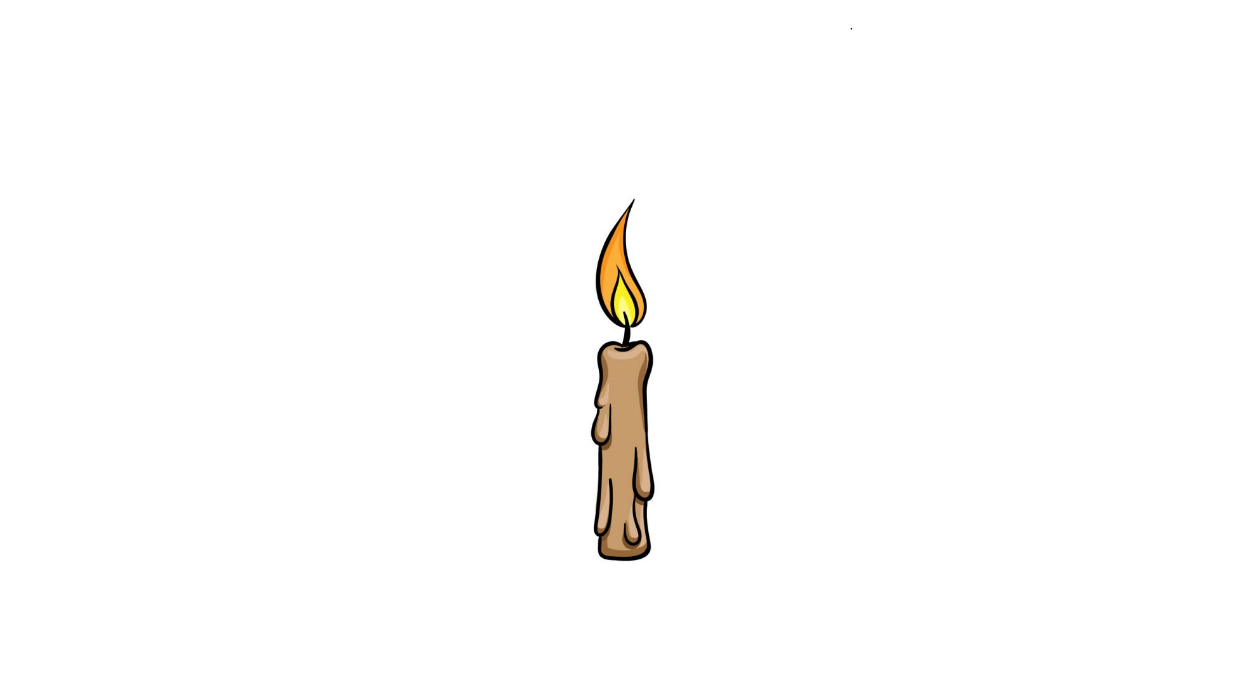
You can add cool colors for your candle design’s sixth and final step!
For our reference image, we used softer shades of brown for the candle and yellow and orange for the flame.
However, these are just suggestions; feel free to use whatever colors you like!
As mentioned earlier, candles come in wide varieties, and the same goes for colors. They can come in almost any color, giving you much freedom in color choice.
Remember that you can get even more color variations by filling in the background or any other details you may have added! So all you have to do is choose what means you want to use to end it.
You could use acrylic paints, crayons, or markers for lighter colors. For softer colors, on the other hand, watercolors or colored pencils are suitable.
Your Candle Drawing is Finished!